Talk about it Tuesday
Last Tuesday I declared Tuesday a day to “talk about it”, this Tuesday I’m going to walk you through the steps I took to get a beautiful curl without using a curling iron (besides for a a touch up)!
Now that I have two daughters and myself to get ready, I’ve been trying to think of ways to make mornings I have to be somewhere less hectic by doing as much as I can at night. This weekend we had a wedding to go to so I had to actually look nice, meaning I had to curl my hair & do my makeup, also meaning I had to do Elainas hairs and she’s not a big fan of that. Getting myself ready on a normal day takes about 45 minutes with the inevitable interruptions, so actually doing my hair was at least going to double that (my hair is very long and thick). We had about a 2o minute drive to the place the wedding was & Nate was in it so I really couldn’t miss it or be late so I went where I usually go to solve my problems, Pinterest (follow me here). I was really looking for easy hair styles but what I found was even better, putting all the hard work that needed to be done the night before.
Make Your Halo:
Step 1. Get a t-shirt

Simple as it sounds, find a t-shirt you don’t mind rolling up. You don’t have to cut it or ruin it in any way.
Step 2. Roll it up
 Okay, this step is extremely tricky! Just kidding, you just roll the shirt along the side NOT from the bottom up north from the top down you WILL want to roll from one side to the other. Not the hamburger way but the hotdog way (does abybody else remember that from elementary?) You might get really sweaty from the rough work out you just did.
Step 3. (Hair) tie it
 After you’ve rolled your shirt, fold it in half, wrap a hair elastic around the two ends tying it together to format a circular-ish shape (just like the picture shown above).
Your Hair:
Step 1. Shower
This hair style requires damp hair, so it only makes sense to shower. Once I was all showered up, I put some of my Suave leave in conditioner in my hair to make it easier to brush through while wet. After its all nice and brushed, I simply part my hair where I want it to be parted the next day. Because I’m in no rush and the point of this is “no-heat” (okay, it’s really to save time for me but still), I let my hair air dry until it’s mostly dry but still damp enough to take the curls, in percentage wise were talking about 80% dry.
Step 2. Brush forward
 After your hair has dried up a good amount you will want to brush is again to make sure all if the knots & tangles are gone. I then split my hair in half and put each half over my shoulder & brush one half forward like you see in my picture, I started with the larger half to make the second half easier.
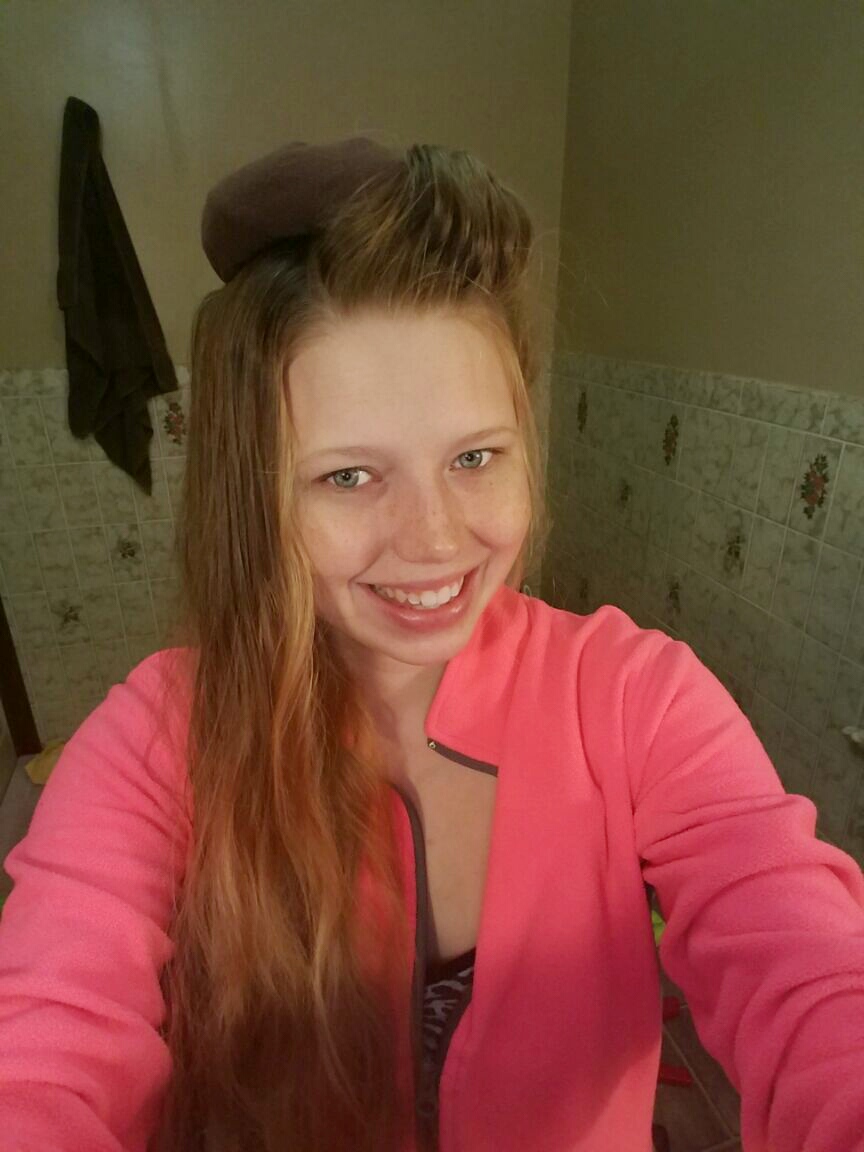
Step 3. Halo

Now you have half of you hair brushed to the front of your face you’ll want to place the halo on the tip of your head. Here is where you’ll start to wrap your hair around the halo. Take a good chunk from the front of your head, make sure it’s smooth and wrap it around the halo & Bobby Pin it. So it looks like the picture below. And continue that with the whole side.

Step 4. Next side
 Now half of your hair is rolled up in your halo you’ll move to the next side! Just like before you will brush the other side forward, wrap your hair around the halo and then boppy pin it. You’ll continue that through the rest of your hair.
 the top will look like a hair ring on your head.
 Tips.
Tips.
- Make sure every strip of hair you wrap around your halo is nice and smooth, I had to comb a few of mine to make sure they would go around nicely.
- Make sure the top of your hair is flat, you can see in my last picture where I had a little bump inside my halo, that’s something you’ll want to avoid. I was able to fix it the next day with a little water.
- BOBBY PINS!! I only used these when I thought I needed them and my hair was falling out by morning. I’d suggest pinning each strand as you go. I felt very luck my hair turned out but I did have to touch it up a little bit, something I feel would have been avoided had it stated in place.
- Wrap them right! You don’t need to rip the hair from your head wrapping this but you want it to have a nice curl
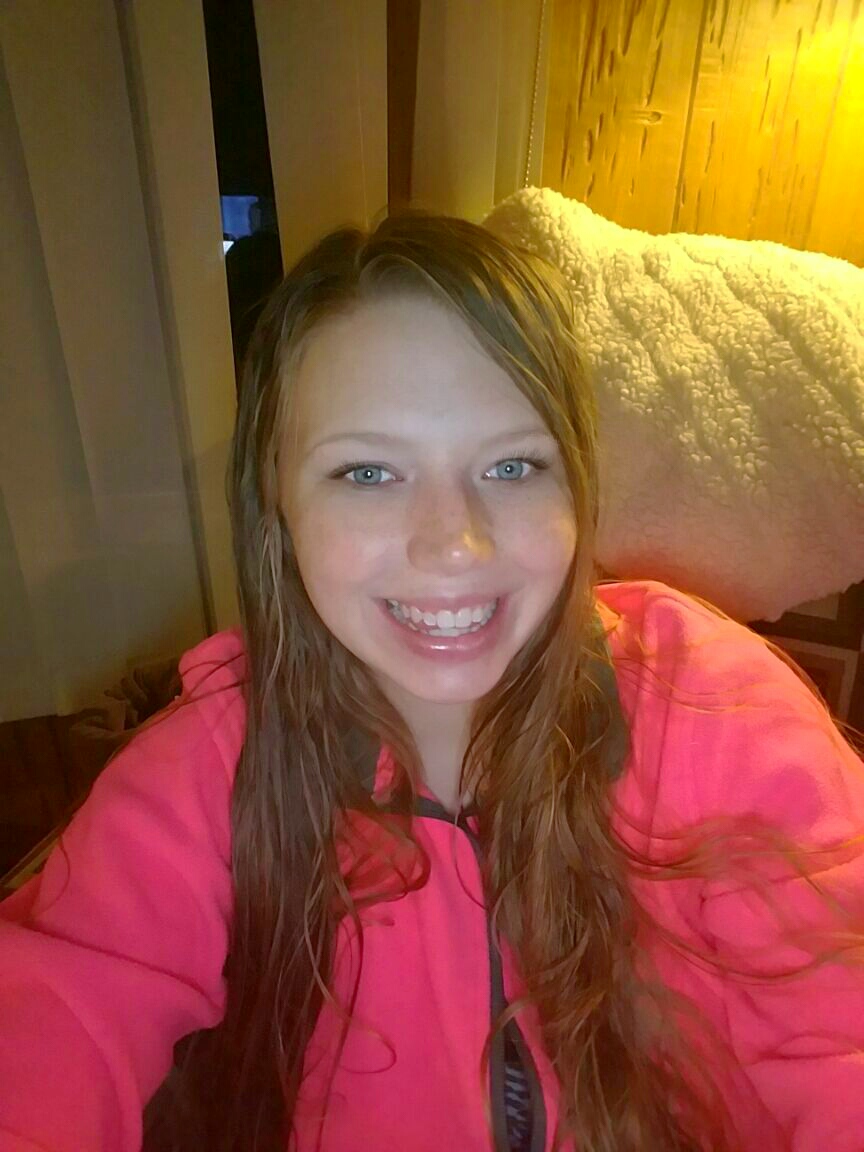
Final Product.

If you want to read about my lipstick check it out here. It’s two different colors I used to make an Ombre lips shade.

So Pretty!
LikeLiked by 1 person
Thank you! I absolutely love them and plan to do it again very soon!
LikeLiked by 1 person